Monday, April 26, 2010

Semolina Pudding (Sooji Payesh)


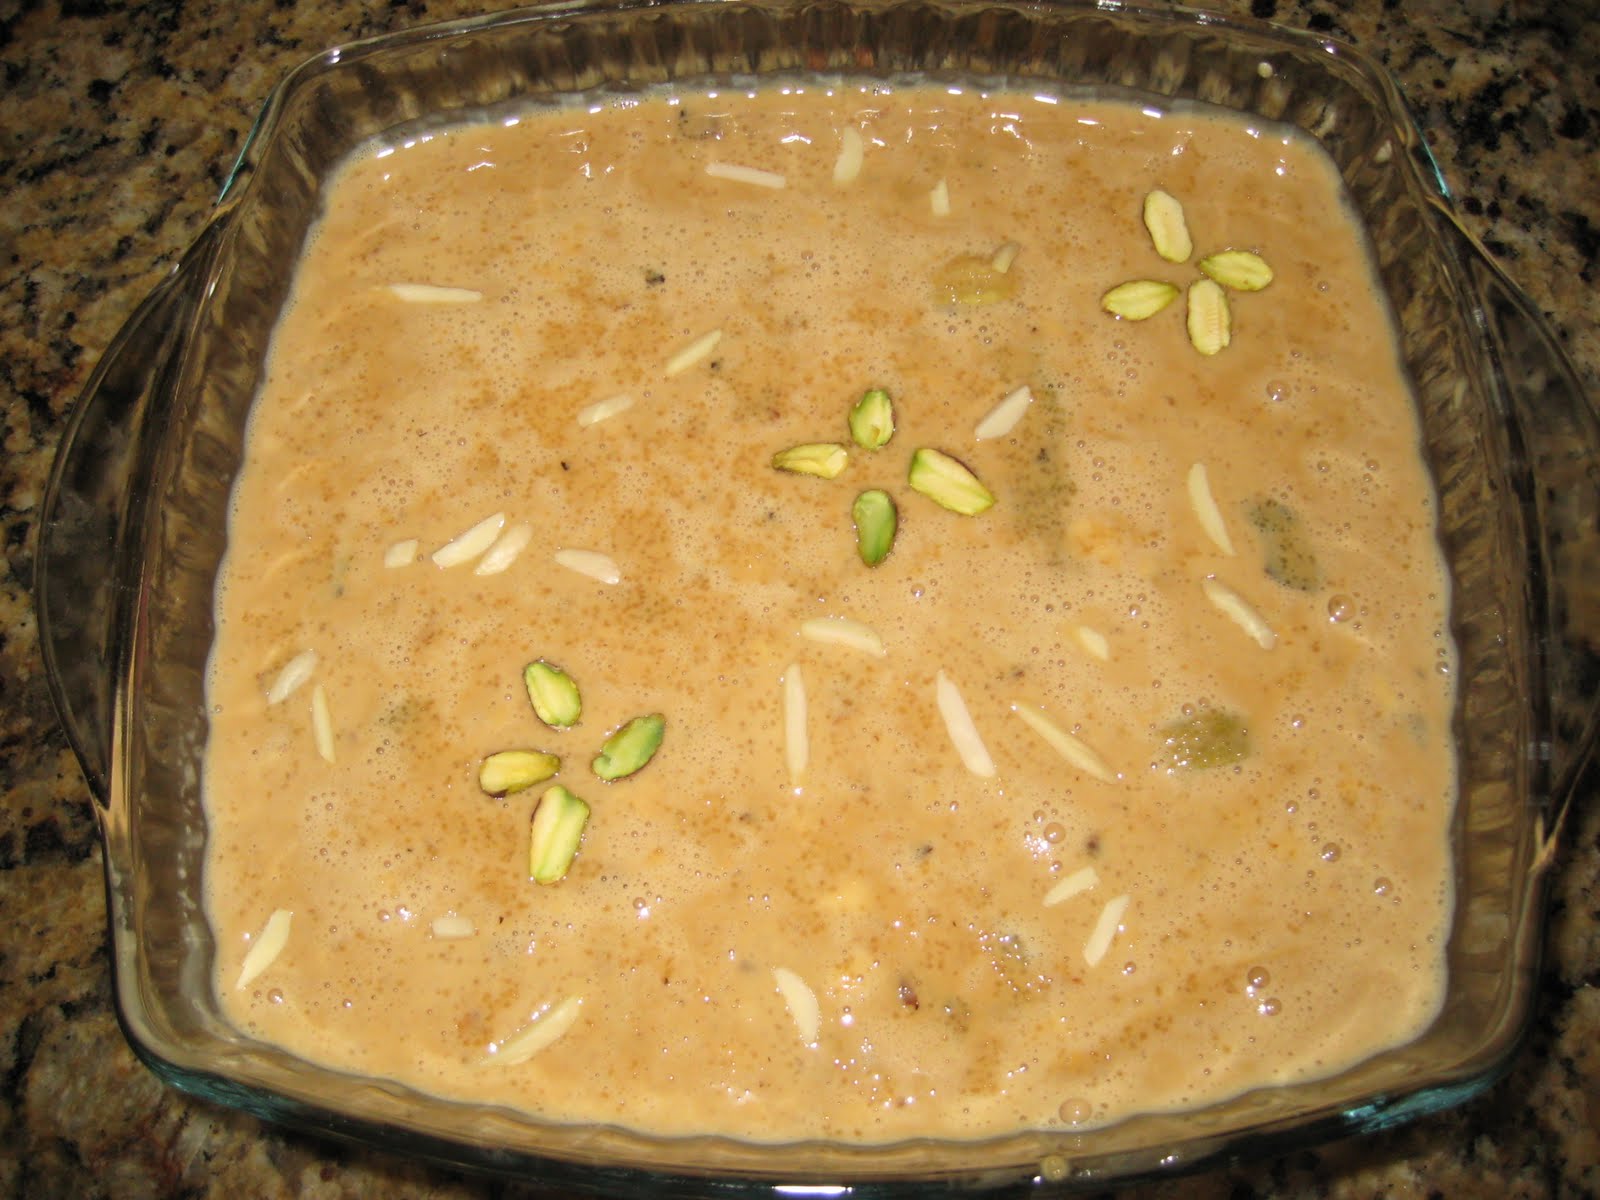
This dish is a variation of the traditional rice pudding, which is served commonly in many Mediterranean and other countries of the Indian subcontinent. Semolina or Sooji, as it is called in Hindi, is a coarse flour made from durum wheat. I had bought this ingredient a while back with the hope that I would be able to make a dessert that would be appealing to my daughter’s fickle taste buds.

For someone like me who does not have a sweet tooth, making a dessert is a big challenge. Hence, I really appreciate a dessert that is not only easy to make but tastes great. And in the end when the cooking is done, I must have time and energy left for garnishing the dish :-)


Ingredients:

Semolina (Sooji) – half cup
Evaporated milk – 2 cans of 12 fl oz each
Organic brown sugar – to taste
Jaggery/molasses made from dates or sugarcane – optional
Pistachios and slivered almonds


I dry roasted about two fists full of semolina in an iron wok for about 5-7 minutes until the white color changed slightly brownish. (Yes, you read that right - I cook using my fist, pinch and dash as a measurement. I am sure all you busy moms and homemakers, reading this recipe, do the same too.)

Next, I added the evaporated milk to the dry-roasted semolina and stirred continuously. Whoever has cooked kheer or Indian pudding before must know by now that stirring is an important step in making this dish. Something that I learned after living in this country and really appreciate about evaporated milk, is that it is already cooked halfway for the process of making kheer. So, you are cooking this dish for half the time than your mom or grandma did before evaporated milk was invented! Whoever invented evaporated milk, bless their souls!

When the mixture of semolina and evaporated milk in the wok has reached a desired consistency, add the brown sugar. I prefer unbleached sugar in my cooking unless I absolutely need to use white sugar. It not only helps you eat organic but also imparts the smell of sweet natural sugar to your dish. I turned off the heat and then added some ground sugarcane jaggery (patali in Bengali). It imparts a sweet flavor to your dessert and makes it an instant hit. This ingredient’s flavor also sets aside your dessert from the ordinary rice pudding. Just taste once or twice to see how much sweet you want your dessert to be. Because this is warm when you are tasting, remember that when this dish is cooler, it will taste sweeter. After cooling the dish, I added some slivered almond and pistachios to garnish.

I have heard different variations of making kheer from friends – some use bisquick, some use half and half, some use whole milk, etc. Also, you can use par-cooked rice or vermicelli for this dessert instead of semolina.

I know you are still thinking about the ultimate question – did it appeal to the little one’s taste buds? That's a whole different story but I can tell you that everyone else loved it ;-)

Tuesday, April 20, 2010

Kofta Curry (Veg)


This weekend I did my grocery at my regular one-stop shop - Whole Foods. I got all the ingredients of my kofta curry there and decided to make it this week's recipe. This is also for my vegetarian friends who had requested me to try some veg dishes.

Kofta generally mean meatballs, although, the vegetarian version is quite popular in India as well. When I saw meatballs in the aisle for frozen food, I asked myself if I could do an Indian twist on it. At the same time, I wanted to make a vegetarian dish. So, I moved towards the vegan section and saw these meatless meatballs. The other ingredients I needed for this were either available in the produce section or I already had at home.

Ingredients:
Meatless meatballs from the frozen aisle. I got the zesty Italian flavor - 1 pkt
Red onions - 1.5 medium
Grated ginger - 2tbsp
Garlic - 2 cloves
Tomato puree - 2tbsp
Green chillies
Whole cumin - 1tsp, bay leaf - 2, dried red chillies - 2
Garam Masala, paprika, turmeric
Salt & Sugar
Oil - about 1/3 of a measuring cup, but please eyeball the amount of oil as per your personal preferences

My husband picked up my daughter today. So, I got some headway in terms of timing. I grated the ginger, onion, garlic, green chillies together in the grinder. After heating the oil in a wok, I added the whole cumin, bay leaf and dried red chillies, followed by the onion paste. I added a pinch of sugar to caramelize the onion paste. Note that I did not add salt yet because I wanted the onions to cook by themselves first. After stirring this mixture on high for about a minute, I covered the wok and turned the heat to low.

By now, my daughter had arrived and was hungry, so we had dinner while the onion paste cooked on low heat for about 30 minutes. The oven was pre-heated to 400F. After about half an hour later, ensuring that the mixture in the wok no longer smelled of raw onion, I added turmeric, paprika and salt followed by the tomato puree. I was doing this with my daughter around me and noticed how quickly kids learn to imitate their parents when she imitated me smelling the vapors of the curry to check if the onion is thoroughly cooked. It was a really funny sight to behold!

If you don't have tomato puree at home, feel free to use chopped tomatoes or plain ketchup. I have used ketchup in my cooking too and it works great - just go easy with the salt and sugar. The mixture cooked on medium heat now for about 5 minutes.

I added water followed by the garam masala to the above mixture and let it boil. Meanwhile, I lay down the meatballs in the baking dish. When the curry in the wok started boiling and getting thick, I turned off the heat and added to the baking dish. The dish baked for about 30 minutes. I prefer baking to cooking the meatballs in the curry so that the meatballs do not get overcooked and do not break.

On my husband's recommendation, I added some final touches with chopped cilantro and the vegetarian kofta curry was ready!

This dish can be made with meat or meatless meatballs alike. If you like, you can also add some cream after turning off the heat to the curry.

Monday, April 12, 2010

Chilli Fish


I had been contemplating making this Indian Chinese dish for a while but was not getting a chance to cook in the kitchen before 9pm. One of my girlfriends said "If we are cooking after 9pm when the kids are asleep, we are doing just a chore, its not a creative art anymore." So, I decided not to let that happen and instead used cooking as a way of entertaining my little one.

Ingredients:

3 fillet of cod fish - thawed and cubed
Ginger, green chillies, garlic - ground
Green bell pepper - de-seeded & sliced
Canola oil
Balmasic vinegar
Soy sauce
1 egg
Cornstarch
Salt & pepper

Before playing with daughter last evening, I ground the garlic cloves from 2/3 of a whole garlic, 5-6 green chillies and 2" ginger together in my magic bullet grinder. Daughter in one-hand and optimizing the other one, I added this paste to the fish with soy sauce, salt and balsamic vinegar. A point to remember here is that soy sauce is salty, so be cautious with the use of salt. I left the marinade to be happy and went to give full attention to my daughter, who by this time, had developed immense liking to the dish that was going to be cooked and wanted to eat it :-)

It is amusing how a sizzling pan or boiling curry can instantly engage a toddler's mind. They seem to know that this is the real stuff and enjoy watching the action very much. I must confess I often use this tool to keep my little one calm. And if you let her touch the spatula even once, you are a hero!

I returned to the marinade an hour later and added some egg & flour to it. After this, we (I say we because my daughter now wanted to be part of the action) heated some oil and fried the marinaded fish pieces for about 2-3 minutes. I always use low heat for cooking, especially when the little one is around, as this is less hazardous and buys me more time for the next steps. Now, cod fish is very tender, so frying for 2-3 minutes will cook the fish half-way through. Using a slotted spoon, we transferred the fried fish to a baking dish and sauteed some sliced bell peppers in the same oil and kept that aside. Using the remaining garlic-chilli-ginger paste, I fried that on the remaining oil until there was no more smell of raw garlic. We added salt, soy sauce, vinegar, pich of sugar and powdered black pepper to the pan and added water and let it boil.When this boiled, we addded some cornstarch in water to the sauce and let it thicken.

To the fish in the baking dish, I added some chopped (or torn) cilantro and green onions and poured the sauce. It is important to ensure that the cilantro and green onions do not rise to the top as they will get burnt during the baking. We baked the fish for about 25 minutes to a preheated oven at 450F.

The bell peppers were added as a garnish. I decided to serve the fish with white rice. There chilli fish was ready! And yes, it was yummy.